
Changing Toner in a Canon Printer: A Step-by-Step Guide
| Aug 14, 2026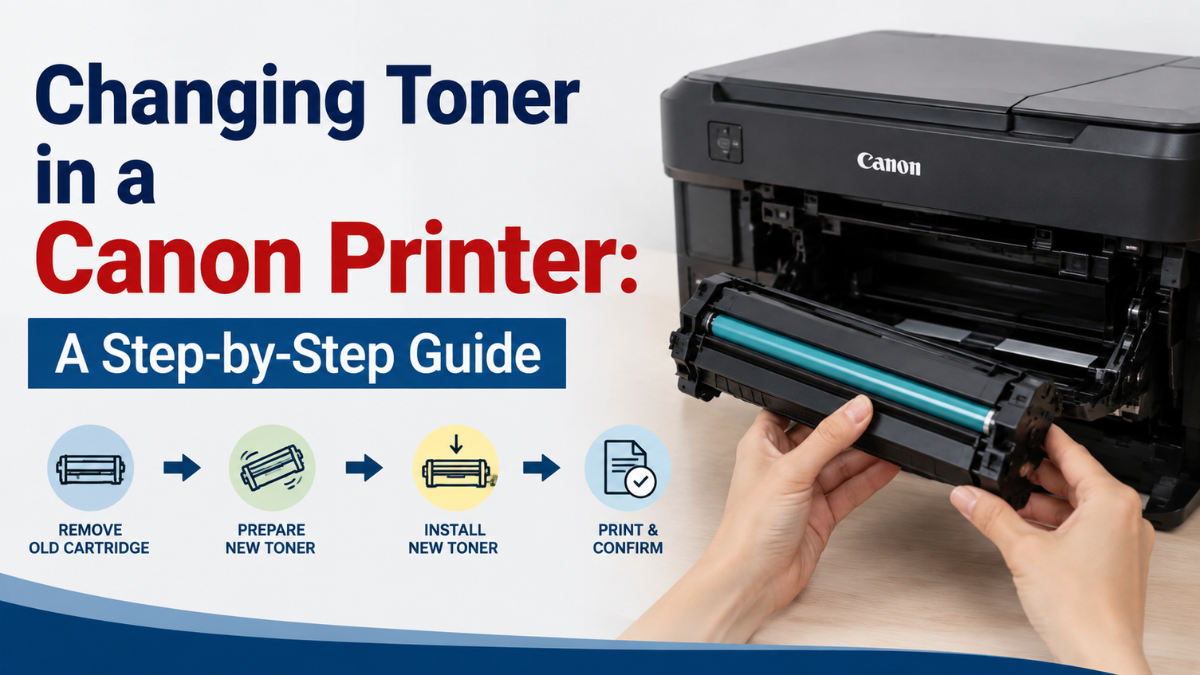
Replacing an empty toner cartridge doesn’t have to be difficult. If you’re changing toner in a Canon printer for the first time, a few simple steps can help you remove the old cartridge, install the new one, and get back to printing.
Before you begin, make sure you have the correct Canon printer toner cartridges for your printer model. Using the wrong cartridge can lead to installation problems or prevent your printer from recognizing the new toner.
Whether you’re replacing an empty cartridge, dealing with faded prints, or responding to a toner warning, this guide explains how to replace Canon toner safely and correctly.
When Should You Replace Your Canon Toner Cartridge?
Your Canon laser printer will usually let you know when the toner is running low. However, there are also several signs you can look for in your printed documents.
You may need a new toner cartridge if you notice:
- Faded or unusually light text
- White areas or streaks on printed pages
- Uneven print quality
- Repeated marks on documents
- A low-toner warning
- A message telling you to replace the toner
- Pages becoming difficult to read
Keep in mind that poor print quality doesn’t always mean the toner cartridge is empty. Paper, printer settings, and other printer components can also affect the results.
If your printer is still producing clear documents, you may not need to replace the cartridge immediately just because you received a low-toner warning.
What to Do Before Changing Toner in Canon Printer
A little preparation can make the replacement process easier and help prevent common mistakes.
1. Check Your Canon Printer Model
First, identify the exact model of your Canon laser printer. The model name is usually printed on the front or top of the printer.
This is important because Canon printers use different toner cartridges. A cartridge that works with one model may not work with another.
2. Check the Toner Cartridge Number
Before purchasing an OEM or Canon printer toner replacement, check the cartridge number recommended for your printer.
You can usually find this information in the printer manual, on the existing cartridge, or in the printer’s documentation.
3. Prepare the New Toner
Keep the replacement cartridge sealed until you’re ready to install it. Have a clean, flat surface available where you can place the new cartridge while preparing it.
If you’re using a compatible cartridge, double-check that it is designed specifically for your Canon printer model.
How to Replace Canon Toner: Step-by-Step Instructions
The exact process may vary slightly between Canon printer models, but most toner replacement procedures follow similar steps.
Step 1: Turn On the Printer
Turn on your Canon printer and allow it to finish starting up.
Some Canon laser printers may need to be powered on before the toner compartment can be accessed properly.
Step 2: Open the Toner Cover
Locate the printer’s toner access cover and open it carefully.
Depending on your Canon model, the toner compartment may be located behind a front or top cover.
If you’re unsure which panel to open, check your printer’s manual rather than forcing a cover.
Step 3: Remove the Old Toner Cartridge
Locate the toner cartridge inside the printer.
Hold the cartridge by its handles or designated grip areas and gently pull it out. Avoid forcing it if it doesn’t move easily.
Set the old cartridge aside for proper disposal or recycling.
Step 4: Prepare the New Toner Cartridge
Take the new toner cartridge out of its packaging.
Depending on the cartridge, you may need to remove protective materials such as:
- Plastic packaging
- Protective covers
- Sealing strips
- Shipping locks
Follow the instructions included with the cartridge and remove all protective materials before installation.
Step 5: Gently Prepare the Toner
Some toner cartridges may need to be gently shaken or moved from side to side before installation to distribute the toner evenly.
If the cartridge instructions recommend this step, hold it securely and move it gently. Avoid shaking it aggressively, as toner is a fine powder and can make a mess if it escapes.
Step 6: Install the New Toner Cartridge
Place the new cartridge into the printer, making sure it is positioned correctly.
You may feel or hear it click into place when properly installed.
Don’t force the cartridge. If it doesn’t slide in easily, remove it and check that all packaging and protective materials have been removed.
Step 7: Close the Toner Cover
Once the cartridge is securely installed, close the printer’s toner cover.
Make sure the cover is completely closed before continuing.
Step 8: Allow the Printer to Recognize the Cartridge
Give your printer a moment to recognize the newly installed toner.
Some models may automatically reset the toner status, while others may require additional steps.
Step 9: Print a Test Page
Print a test document to check the results.
Look for:
- Clear, dark text
- Even printing
- No unusual streaks
- No missing areas
- No toner marks on the page
If everything looks good, you’re ready to continue printing.
How to Replace Toner Cartridge Canon Safely
When learning how to replace Canon toner, it’s important to handle the cartridge carefully.
Avoid touching sensitive areas of the cartridge, especially the surface of the drum if your toner cartridge includes one. Oils or dirt from your hands can affect print quality.
Also, avoid opening the cartridge or attempting to remove the toner powder from inside. Toner is designed to remain contained within the cartridge during normal use.
If toner accidentally spills, don’t use your hands to spread or wipe it around. Follow the cleaning instructions provided with your printer or cartridge.
If you’re dealing with a damaged cartridge or need to fix leaking toner cartridge problems, it’s generally safer to replace the cartridge rather than continue using one that is visibly damaged.
What If Your Canon Printer Doesn’t Recognize the New Toner?
Sometimes, a printer may not immediately recognize a newly installed cartridge after changing toner in Canon printer.
If this happens, try these simple steps:
Reinstall the Cartridge
Turn off the printer if necessary, remove the cartridge, and install it again. Make sure it is seated correctly.
Check the Cartridge Number
Confirm that you purchased the correct cartridge for your exact printer model.
Check for Protective Materials
Make sure you remove all sealing strips, protective covers, and other packaging before installation.
Restart the Printer
Turn the printer off, wait a few moments, and turn it back on. The printer may recognize the cartridge after restarting.
Check Printer Instructions
If the problem continues, check the instructions for your particular Canon model.
You should also be careful when performing a Canon printer Firmware update. Printer software updates can affect how a printer operates, so always check the instructions and compatibility information for your specific model before proceeding.
What If Your Prints Are Still Faded After Replacing the Toner?
Installing a new cartridge should normally improve print quality if the old toner was empty. However, faded or uneven printing can sometimes have another cause even after changing toner in Canon printer.
Check the following:
- Is the new cartridge installed correctly?
- Did you remove all protective packaging?
- Is the correct toner cartridge being used?
- Are the printer settings correct?
- Is the paper suitable for your printer?
- Does the printer need cleaning or maintenance?
If the problem continues, avoid immediately purchasing another toner cartridge. Troubleshooting the specific print-quality problem first may help you determine what is actually causing it.
How to Get Better Results From Your New Canon Toner
Once you’ve successfully replace toner cartridge Canon, a few simple habits can help you get the most from the new cartridge.
Store Spare Toner Properly
Keep unused toner cartridges sealed in their original packaging until you’re ready to use them. Store them according to the manufacturer’s recommendations.
Use the Right Paper
Paper that is appropriate for your Canon laser printer can help produce better and more consistent results.
Choose the Correct Print Settings
You don’t always need the highest print quality for everyday documents. Using appropriate settings can help you manage toner use.
Don’t Replace Toner Too Early
If your documents are still clear and readable, you may not need to replace the cartridge immediately after receiving a low-toner warning.
Conclusion
Changing toner in a Canon printer is usually a simple process once you know which cartridge to use and how to install it correctly. By checking your printer model, preparing the new cartridge properly, and following each installation step carefully, you can replace your toner and get back to printing without unnecessary hassle.
If you’re still learning how to replace Canon toner, remember to handle the cartridge carefully, remove all protective materials, and check that it is seated properly before closing the printer.
Whether you’re replacing an empty cartridge or completing a routine printer toner replacement, taking a few extra minutes to install the cartridge correctly can help ensure clean, consistent prints and keep your Canon laser printer ready for your next job.
Frequently Asked Questions
1. How do I replace a Canon toner?
When changing toner in Canon printer, open the toner compartment, remove the old cartridge, prepare the new cartridge by removing its protective materials, and insert it into the printer. Close the cover and print a test page to check the results.
2. How often should I change a Canon toner cartridge?
It depends on how much you print and the page yield of your cartridge. A low-toner warning, faded text, or streaks can indicate that it’s time for a replacement.
3. Can I use a compatible toner in my Canon printer?
Yes. Compatible toner cartridges are designed to work with specific Canon printer models. Always check the printer model and cartridge number before purchasing a replacement.
4. Why isn’t my Canon printer recognizing the new toner?
The cartridge may not be seated correctly, the wrong cartridge may have been installed, or protective materials may still be attached. Remove and reinstall the cartridge and verify that it is the correct replacement for your printer.
5. Do I need to reset my Canon printer after changing the toner?
Some Canon printers automatically recognize a new cartridge, while others may require additional steps. Follow the instructions for your specific printer model if the toner level doesn’t update automatically.
Related Articles
Canon Printer Toner Cartridges: What You Need to Know
Canon Printer Toner Replacement: Choosing the Right Cartridge
Canon Printer Firmware Update: Fix Errors & Improve Performance