
How to Change Ink in a Brother Printer: Simple Step-by-Step Guide
| Aug 04, 2026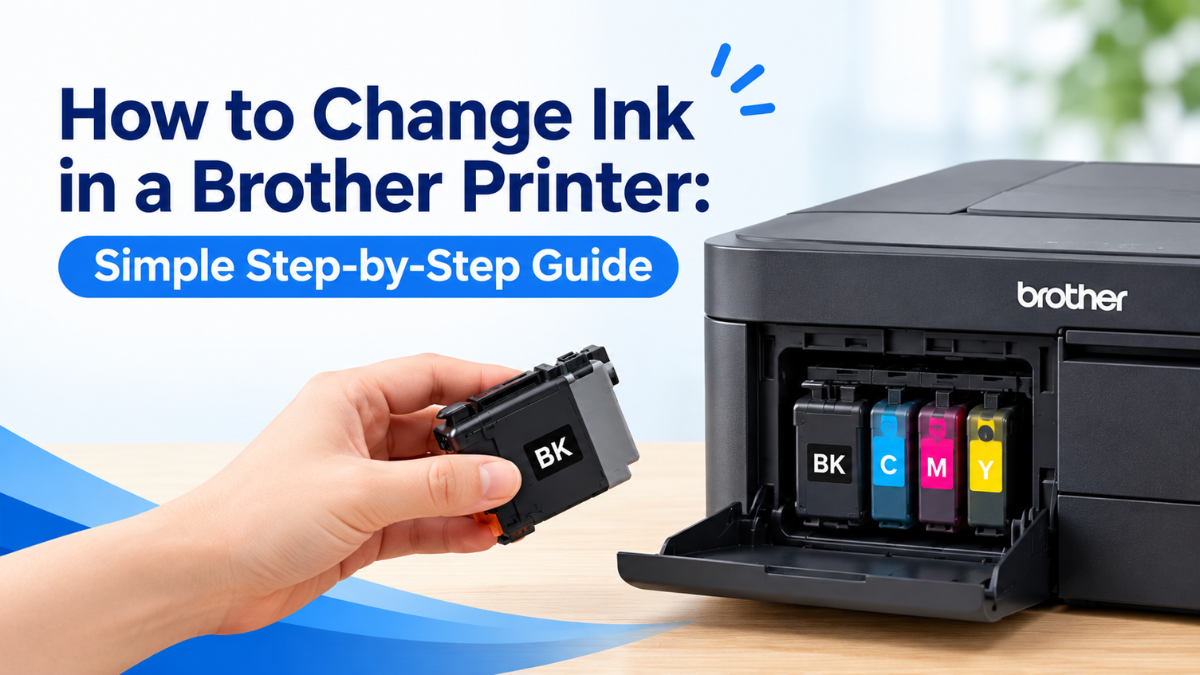
If you’re wondering how to change ink in a Brother printer, you’re in the right place. Whether you’re replacing an empty cartridge for the first time or simply need a refresher, learning the correct process can help you avoid unnecessary printing problems and keep your printer producing sharp, vibrant documents.
Many people search on how to change a Brother ink cartridge after seeing a low-ink warning or running into a cartridge recognition problem. While incorrect installation can sometimes cause this issue, it may also happen if the protective seal wasn’t fully removed or the cartridge isn’t compatible with your printer. If your printer still won’t recognize the new cartridge after following this guide, be sure to read our article on Brother printer not recognizing new ink cartridge for additional troubleshooting tips.
In this guide, you’ll learn how to change Brother printer ink cartridges step by step, discover common mistakes to avoid, and pick up simple maintenance tips to keep your Brother printer running smoothly for years to come.
When Should You Replace a Brother Ink Cartridge?
Before learning how to change a Brother ink cartridge, it’s important to know when replacement is actually needed.
Most Brother printers will notify you when ink levels are low, but there are also visual signs that indicate it’s time for a new cartridge:
- Your printer displays a Replace Ink or Ink Low message.
- Printed pages look faded or dull.
- Colors appear inaccurate.
- Lines or streaks appear on documents.
- The printer refuses to print because one cartridge has run out.
Replacing cartridges promptly helps prevent interruptions and maintains consistent print quality.
How to Change Ink in a Brother Printer: Step-by-Step
Follow these instructions carefully to learn how to change ink in a Brother printer safely and correctly.
Step 1: Turn On the Printer
Your Brother printer should be powered on before replacing ink cartridges. This allows the printer to move the cartridge holder into the correct replacement position.
Step 2: Open the Ink Cartridge Cover
Open the cartridge access door located on the front of your printer.
Wait until the cartridge holder stops moving before touching anything inside.
Step 3: Remove the Empty Cartridge
Press the release lever or gently push the cartridge until it unlocks.
Pull the empty cartridge straight out.
Avoid twisting or forcing the cartridge during removal.
Step 4: Prepare the New Cartridge
Open the new cartridge package only when you’re ready to install it.
Remove all protective packaging, plastic clips, and sealing tape according to the manufacturer’s instructions.
Step 5: Installing Brother Ink Cartridge Correctly
Installing Brother ink cartridges properly helps prevent common installation problems.
Match each cartridge with the correct color slot and slide it in gently until it clicks into place.
If you’re replacing multiple cartridges, install each one individually before closing the printer cover.
Step 6: Close the Cover and Wait
Close the cartridge access cover securely.
Your printer may take one to two minutes to recognize the newly installed cartridge before returning to Ready mode.
Step 7: Print a Test Page
Once installation is complete, print a test page to verify that colors appear correctly and the printer is operating normally.
The entire process on how to change ink in a Brother printer usually takes just a few minutes and helps ensure your printer continues producing high-quality prints.
Choose the Right Replacement Cartridge
Learning how to change Brother printer ink cartridge is only part of keeping your printer in excellent condition. Choosing the right replacement cartridge is just as important.
Many home users, students, and businesses choose remanufactured or compatible ink cartridges because it provides dependable print quality while helping lower printing costs. Premium compatible cartridges are designed to fit specific Brother printer models and deliver reliable performance comparable to original cartridges.
When purchasing replacement cartridges, always verify compatibility with your exact printer model and buy from a trusted supplier to ensure consistent results.
Common Mistakes to Avoid When Changing Brother Ink Cartridges
Even though changing Brother ink cartridges is relatively simple, a few mistakes can lead to printing problems later.
Avoid these common errors:
- Forgetting to remove the protective seal.
- Installing the cartridge in the wrong color slot.
- Touching the electrical contacts or ink outlet.
- Forcing the cartridge into place.
- Turning off the printer during installation.
- Ignoring low-ink warnings for an extended period.
Taking a little extra care during installation can save time and prevent unnecessary troubleshooting.
What to Do If Your Brother Printer Doesn’t Recognize the New Cartridge
Even after learning how to change a Brother ink cartridge, your printer may occasionally fail to recognize the replacement.
Try these simple troubleshooting steps:
- Remove and reinstall the cartridge.
- Make sure all protective seals have been removed.
- Confirm you’re using the correct cartridge model.
- Restart the printer.
- Clean the cartridge contacts with a lint-free cloth if necessary.
If the issue continues, consult your printer’s manual or visit our guide for more detailed troubleshooting solutions.
Keep Your Brother Printer Performing at Its Best
Replacing ink is only one part of maintaining your printer. A few simple maintenance habits can improve print quality and extend your printer’s lifespan.
Cleaning Brother Printer Heads
If your prints still appear faded or have missing lines after replacing ink, cleaning Brother printer heads can often solve the problem. Running the printer’s built-in cleaning utility removes dried ink from the printhead nozzles and restores proper ink flow.
For detailed instructions and additional troubleshooting tips, check out our guide on cleaning Brother printer heads.
Run a Printer Nozzle Check
After replacing ink, it’s a good idea to perform a printer nozzle check. This built-in diagnostic test helps verify that every printhead nozzle is working correctly.
If the printed test pattern has gaps or missing lines, run a cleaning cycle before replacing another cartridge. Our complete Brother printer nozzle check guide explains how to interpret the results.
Print Regularly
Printing a few pages every week helps prevent ink from drying inside the printheads and keeps your printer operating efficiently.
Store Spare Cartridges Properly
Keep unopened cartridges sealed in their original packaging and store them in a cool, dry location away from direct sunlight until you’re ready to use them.
How Long Does It Take to Change a Brother Ink Cartridge?
Most users can replace a Brother ink cartridge in less than five minutes.
After installing the new cartridge, the printer may take another minute or two to initialize and recognize the replacement. Once the printer returns to Ready mode, you can resume printing immediately.
Looking for Affordable Replacement Ink?
Replacing your Brother ink doesn’t have to be expensive. High-quality compatible ink cartridge options offer dependable performance and excellent print quality while helping reduce your overall printing costs.
At CompAndSave, you’ll find reliable compatible Brother ink cartridges designed to deliver consistent results for everyday home, school, and office printing.
Conclusion
Knowing how to change ink in a Brother printer is an essential skill that helps keep your printer performing at its best. By following the proper steps on how to change a Brother ink cartridge, you can avoid common installation mistakes, reduce printer downtime, and enjoy consistently sharp, vibrant prints.
Whether you’re learning how to change Brother ink cartridges for the first time or replacing ink as part of regular printer maintenance, choosing the correct cartridge, installing it properly, and performing routine care can help extend your printer’s lifespan. Pairing these best practices with a quality compatible ink cartridge is a smart way to enjoy reliable printing while saving money over time.
Frequently Asked Questions
1. How often should I replace my Brother ink cartridge?
Replace your cartridge whenever your printer displays a low-ink or replace-ink message, or when print quality noticeably declines. Waiting too long can interrupt printing and affect output quality.
2. Is installing Brother ink cartridges difficult?
No. Installing Brother ink cartridges is designed to be simple, even for first-time users. Following the step-by-step instructions above helps ensure proper installation and reduces the chance of cartridge recognition issues.
3. Why is my printer still printing poorly after changing Brother ink cartridge?
If you’re changing Brother ink cartridges but still notice faded prints or missing colors, run a printhead cleaning cycle followed by a nozzle check. In many cases, clogged printheads—not the cartridge itself—are the cause of poor print quality.
4. Can I use a compatible ink cartridge in my Brother printer?
Yes. A high-quality compatible ink cartridge designed specifically for your Brother printer model can provide reliable performance and excellent print quality while helping lower printing costs.
5. Is there a difference between how to change Brother printer ink cartridges and replacing toner?
Yes. Changing Brother printer ink cartridge applies to Brother inkjet printers. Brother laser printers use toner cartridges, which follow a different replacement process.
Related Articles
Brother Printer Not Recognizing New Ink Cartridge? How to Fix It Fast
How to Clean Printheads on a Brother Printer
Brother Printer Nozzle Check: How to Test & Improve Print Quality