How to Print on Fabric Using An Inkjet Printer
| Jul 19, 2014Did you know, you can print on fabric using your very own inkjet printer at home? You can add quirky designs to a bag, put a funny personalized message on your t-shirt, monogram your pillow case, create a craft project with your kids for school – the possibilities are so many! Let’s look at how you can print on fabrics such as cotton and silk right at home, using an inkjet printer.
 Printing on fabric – a few pointers
Pick your fabric – experts recommend pure cotton or pure silk because these fabrics are better to print on. It is best to use white or a light colored fabric for best results.Use color fast printer ink (pigment based inks are best) to do your fabric printing to prevent the ink from running and to retain your print results for longer. Also, ensure that your printer is not the sort that expressly forbids fabric printing check your user manual for more details). Typically inkjets will print on fabric whereas few laser printers may be able to do this.
Printing on fabric – things you will need
- Inkjet printer with ink cartridges that are not depleted or exhausted
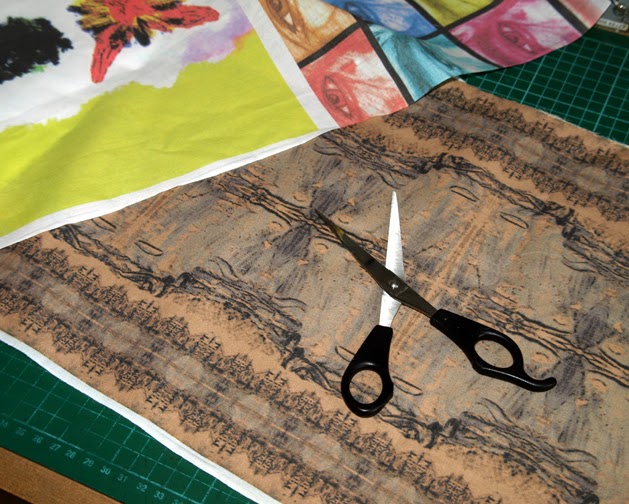
- Cotton or silk cloth fabric
- Card, printing paper, freezer paper
- Lightweight bonding spray adhesive and an iron (if you plan to use card or printing paper)
- Scissors
- Images, designs, graphics or slogans that you want to print on your cloth (ensure that these are properly formatted and sized)
Prep or stabilize the fabric
The first thing to realize is that you can’t just put any fabric into the printer tray as you would do with the paper. If you do this, it may jam the printer. You could use pre-treated fabrics that are suitable for printing – these fabrics are backed with rigid materials that make them stiff enough to run through a printer.
Here are a few techniques you can use to stabilize the fabric first, and make it stiff enough to run through the printer:
- Use regular printer paper or stiffer, card paper: cut your fabric to the same size as your sheet of paper, and then iron these together. Spray the paper with adhesive – do this outside or put a protective cover over your workspace to prevent the adhesive getting everywhere. Pay particular attention to the edges; you don’t want the paper and fabric to separate when passing through the printer. Now paste the fabric and paper together.
- You can also use freezer paper to do this. You don’t need glue for this, simply ironing the two together – the plastic side (the shiny side is the plastic side) facing the fabric – will do the trick
- If your printer lets you print on a roll of paper (as opposed to sheets from the feeder tray) then your options increase significantly – you can print banners with messages and so on.
Print on your prepped fabric
Once you pick out a design, photo, graphic, or message, make sure that you crop and edited the image properly for the size or dimension of your prepared fabric. Trim any loose threads you find and then insert your prepped fabric into your printer. Print as usual. It’s recommended that you use the best or highest quality printout mode from the settings – draft or regular quality printing will not last as long. Let the printout dry properly, then peel the paper backing away from the fabric and you’re good to go!
So as you can see from these simple steps above, it isn’t really difficult to print on fabric at home – just follow the simple steps listed above and keep those pointers in mind. This will help you create unique home furnishings, let you personalize clothing and other DIY products for the home, school or elsewhere.
And if you think a project such as printing on fabric is going to use up too much ink, worry not! We make it possible for you to save up to 80% on your printer cartridge purchases. Like us on Facebook and subscribe to our newsletter to keep track of discount offers and future posts such as this