Poor Print Quality Fix: Stop Smudges and Blurry Prints Fast!
| May 22, 2025
You hit print, expecting a crisp, clean page—but instead, you get smudges, streaks, or blurry text. Sound familiar? It always seems to happen right when you’re printing something important, like a report, a school project, or a presentation.
Whether you’re using a printer at home or work, poor print quality can be stressful. The good news? Most print quality issues are easy to fix on your own. In this guide, we’ll walk you through simple ways to figure out what’s going wrong and how to get your printer back to producing sharp, clear pages—fast. Say goodbye to messy prints in no time!
Poor Print Quality: How Smudges, Streaks, and Blurry Prints Differ and Ways to Fix Them
Not every print problem looks the same, which matters when it comes to fixing it. Knowing whether you’re dealing with smudges, streaks, or blurry prints makes it much easier to find the right solution. Here’s a quick breakdown of what each issue looks like and what usually causes it.
1. Smudges

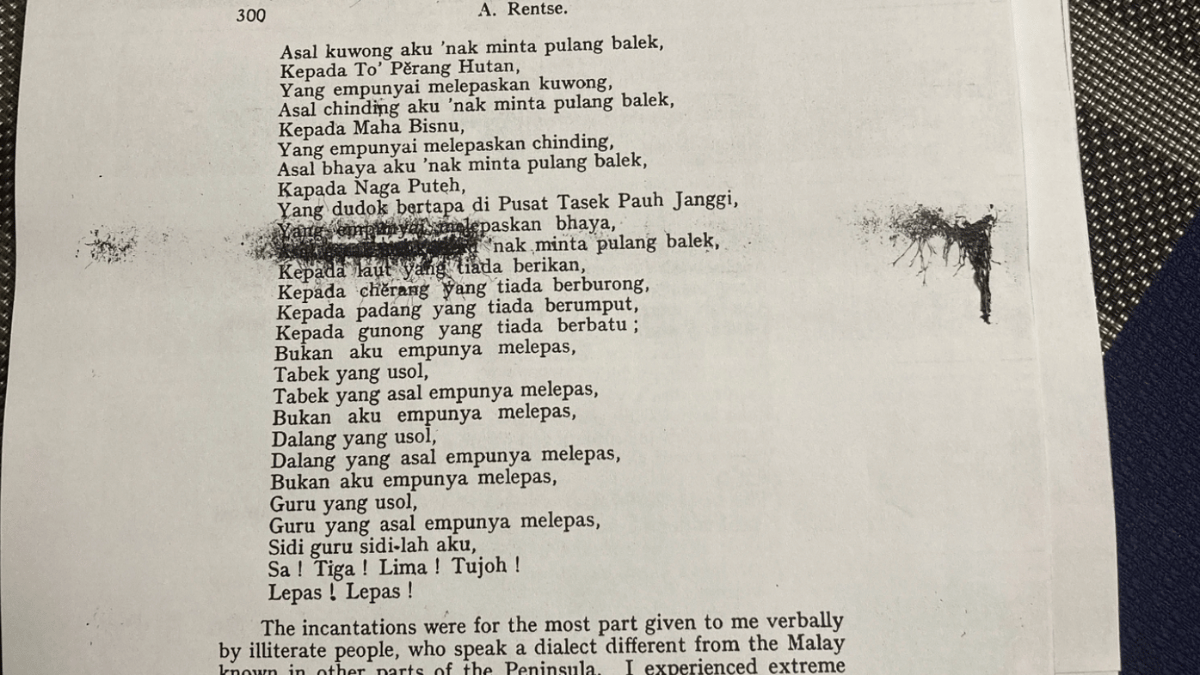
Image Source: Tech Support Guy
What it looks like: The ink looks smeared or still wet on the page, leaving behind messy marks or blotches. Text and images might look like they’ve been dragged across the paper, almost like someone accidentally smudged them with their hand.
Common causes
- The ink isn’t drying properly, usually because of excess moisture or low-quality paper
- Dirty rollers inside the printer are smearing wet ink as the page feeds through
- Too much ink is being used, causing overflow and buildup
- The paper isn’t made for your printer type—glossy or coated sheets can cause problems, especially with inkjets
How to fix smudging issues?
1. Use the right paper: Not all paper is made the same. Inkjet printers need absorbent paper that lets the ink dry quickly, while laser printers require smooth paper that can handle heat. Using glossy or coated paper in an inkjet can prevent ink from soaking in, leading to smudges. Always check the packaging to make sure the paper is compatible with your printer type.
2. Check your settings: In your printer’s settings or print dialog box, choose the correct paper type (e.g., plain, photo, glossy). This tells the printer how much ink to use. If the wrong setting is selected, your printer might apply too much ink or the wrong drying process, causing smearing.
3. Reduce print quality slightly: High-quality print modes use more ink to produce sharper images, which can lead to over-saturation, especially on standard paper. Try switching to a “Standard” or “Draft” setting. It uses less ink and dries faster, which can prevent bad print quality due to smudging.
4. Clean the rollers: The rollers pull the paper through the printer. Over time, they can collect ink, dust, or paper fibers. If they’re dirty, they might smear wet ink across the page. Open your printer, locate the rollers (usually gray or rubbery), and wipe them gently with a lint-free cloth dampened with isopropyl alcohol. Let them dry before printing again. If you have an Epson printer, you can also check this guide on how to clean the rollers.
5. Run a maintenance cycle: Most printers include built-in maintenance tools like “Clean Print Heads” or “Roller Cleaning.” These help remove excess ink buildup inside the printer and improve how ink is applied. You can find these tools in the printer’s control panel or software on your computer.
6. Let prints dry: Even when everything is working properly, some prints—especially those with lots of color or heavy ink coverage—need time to dry. Leave each printout on a flat surface for a minute or two before handling. This small step can prevent accidental smudging from fingerprints or stacking pages too soon.
2. Streaks

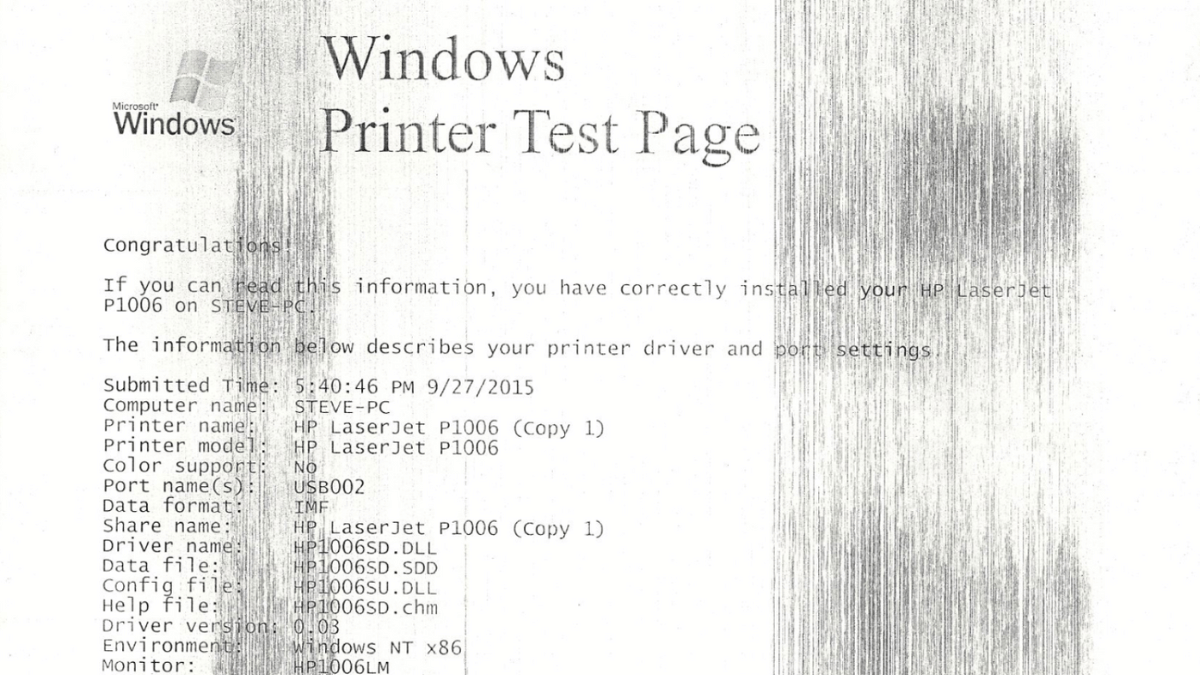
Image Source: HP Community
What it looks like: You’ll see lines—either light or dark—running straight across your printout, either vertically or horizontally. These lines often break up text or images and make your pages look messy or incomplete.
Common causes
- Clogged or misfiring printheads that aren’t laying ink evenly
- Low or uneven ink or toner levels, causing patchy distribution
- A damaged drum unit (more common in laser printers)
- Dirty or blocked nozzles that need cleaning
How to fix streaking issues?
1. Clean the printheads: If your printer not printing clearly, it’s often due to dried ink blocking the flow. Over time, ink can dry out and clog the printhead nozzles, especially if the printer hasn’t been used for a while. Most printers have a built-in “Clean Printhead” or “Nozzle Check” option in their maintenance menu. Run this tool once or twice to clear any dried ink that’s causing streaks.
2. Check ink or toner levels: Low ink or toner can result in uneven coverage and streaks. Open your printer’s software or check the display panel to view ink levels. Replace or refill the cartridges that are running low, especially if the streaks appear in just one color.
3. Replace or shake the toner cartridge (for laser printers): Sometimes, toner settles unevenly inside the cartridge. Remove it and gently shake it side to side to redistribute the toner powder. If the cartridge is nearly empty or old, replacing it may solve the poor print quality issue.
4. Clean the nozzles manually: If an automatic clean doesn’t work, try a manual clean. Use a lint-free cloth and a small amount of distilled water or isopropyl alcohol to gently wipe the printhead nozzles. Be sure to follow your printer’s manual for instructions specific to your model.
5. Inspect and replace the drum (laser printers only): If you’re using a laser printer and the streaks won’t go away, the drum unit might be scratched or worn out. This part transfers toner onto paper. Over time, it can get damaged and cause streaks. Most laser printers alert you when it’s time to replace the drum.
6. Run a print alignment tool: If your printer has an “Align Printheads” or similar tool in the settings, use it. Misaligned heads can also lead to streaking and uneven printing, especially with color documents.
3. Blurry Prints

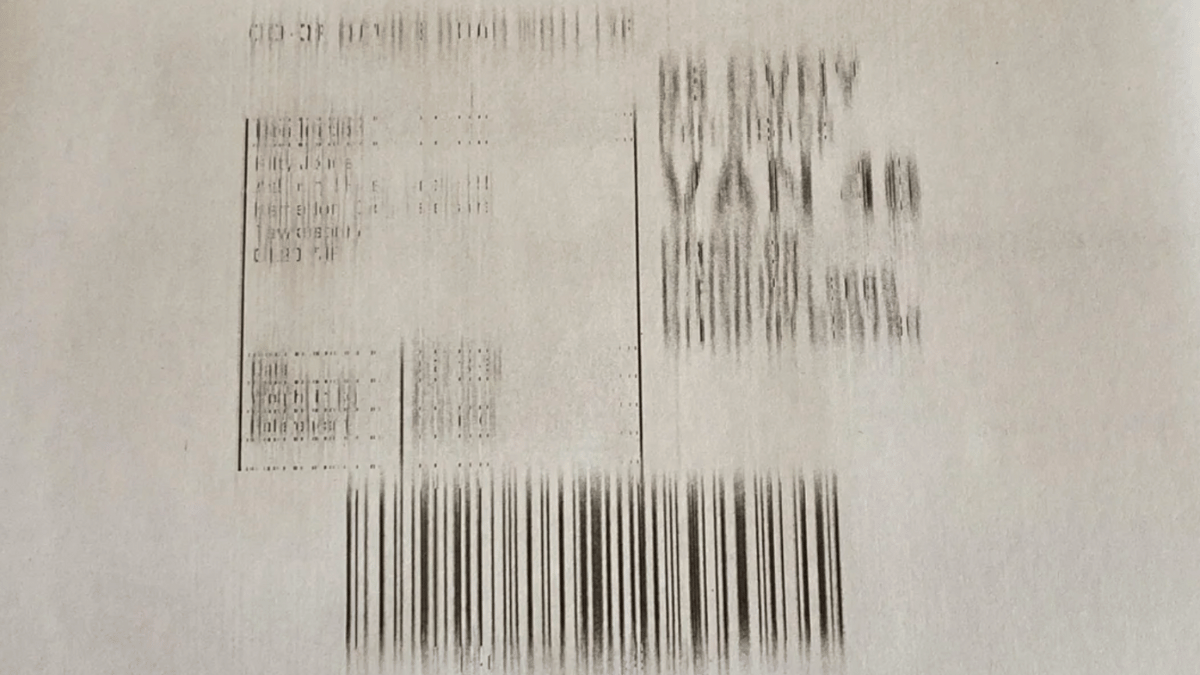
Image Source: Reddit
What it looks like: Text and images look fuzzy, out of focus, or slightly doubled. Instead of sharp lines, you get soft, unclear results that are hard to read or don’t look professional.
Common causes
- Misaligned printheads throwing off the ink placement
- Low-resolution files that appear pixelated or unclear when printed
- Moist, thin, or incompatible paper causing ink to bleed
- A shaky or unstable printer surface disrupting precision during printing
How to fix blurry print issues?
1. Align the printheads: Misalignment is one of the top reasons for blurry output. Most printers have a built-in alignment tool—often labeled “Align Printheads” or “Print Alignment.” Running this tool helps ensure ink is applied exactly where it should be, improving sharpness.
2. Check your file quality: Low-resolution images or documents will look blurry no matter how good your printer is. For best results, use images with at least 300 DPI (dots per inch). Avoid enlarging small images, as that can cause pixelation and blur when printed.
3. Use better paper: Another method how to improve print quality is by using high-quality paper. Thin or moist paper absorbs too much ink, causing it to spread or bleed. Switch to high-quality, printer-recommended paper. Make sure it’s completely dry and stored properly to avoid moisture issues that lead to fuzziness.
4. Stabilize the printer: Blurry results can also happen if the printer vibrates or moves while printing. Place your printer on a solid, flat surface. Avoid placing it on wobbly tables or shelves, especially during high-speed printing.
5. Adjust print quality settings: In your printer preferences, select a higher print quality or resolution. Avoid using “Draft” or “Fast” modes for important prints. Using a higher setting helps prevent blurry text and faded printing, giving you cleaner, more professional-looking pages.
6. Perform a test print: Run a test print to see if the issue is consistent. If blurriness only affects one color or appears in a pattern, it may point to a specific cartridge or printhead problem.
Preventing Print Quality Issues: Simple Tips to Keep Your Prints Clean
If you’ve fixed smudges, streaks, or blurry prints, the last thing you want is for those issues to come back a week later. The truth is, most print quality issues can be avoided altogether with just a bit of regular upkeep. Taking a few simple steps to care for your printer can save you time, money, and frustration in the long run.
To keep your printer running smoothly and your prints looking sharp, make these habits part of your routine:
- Print a test page every week to keep the ink flowing and prevent the heads from clogging
- Always turn off the printer the right way using the power button—don’t just unplug it
- Use the right paper that matches your printer type to avoid smudging and printer ink bleeding on paper
- Run the cleaning cycle now and then to keep things working smoothly, especially if prints start looking off
- Don’t let your ink run completely dry—replace low cartridges early to avoid damage
- Clean the rollers gently with a lint-free cloth and a little isopropyl alcohol to stop paper jams and streaks
These small habits can make a big difference in how your printer performs daily. A little upkeep now can save you a lot of frustration later!
Final Thoughts
You don’t need to be a tech expert to fix poor print quality. With a few simple checks and regular maintenance, you can fix streaks, clear up blurry prints, and stop smudged ink before it ruins your documents. Most print quality issues can be solved at home without much effort, and these tips are a great place to start.
Still having trouble? It might be time to reach out to a printer maintenance service or consider upgrading your printer. Until then, keep these fixes in your toolkit to keep your prints looking clean and professional.
Need affordable ink and printer supplies to go with your maintenance routine? Check out CompAndSave for quality cartridges that won’t break the bank.
Frequently Asked Questions
1. Why is my printer printing faded text even with new ink?
Faded prints can happen if the printheads are partially clogged or if the printer is set to a low-quality mode. Even new cartridges need proper alignment and cleaning to work well. Check your printer settings and run a cleaning cycle to see if that improves the output.
2. Can humidity affect print quality?
Yes, high humidity can cause paper to absorb moisture, leading to smudging, warping, or low-quality print. Damp paper doesn’t handle ink properly, which can create poor results. Always store your paper in a cool, dry place.
3. Why does my printer print fine in black but not in color?
This usually means the color cartridges are low, clogged, or not installed correctly. Try running a printhead cleaning and check the ink levels. If one color is missing, replacing that specific cartridge often fixes the issue.
Related Articles:
Printer Ink Bleeding on Paper: Ways To Fix It
